GCPのログイン情報を取得する
GCPと連携するには、Incredibuild Cloudのアクティベート時に次のログイン情報が必要です。
-
プロジェクトID
-
サービス アカウントID
また、対象のGCPプロジェクトで、いくつかのAPIを有効化する必要があります。
-
GCPで対象のプロジェクトに移動します。
-
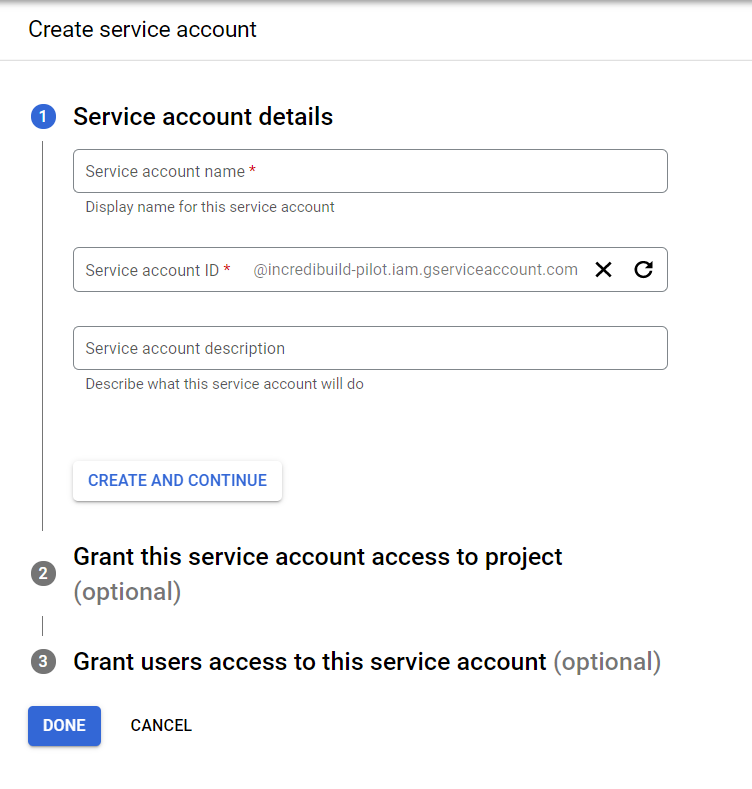
[ServiceAccounts]>[CreateServiceAccount]に進みます。サービス アカウントIDは後で必要になります。
-
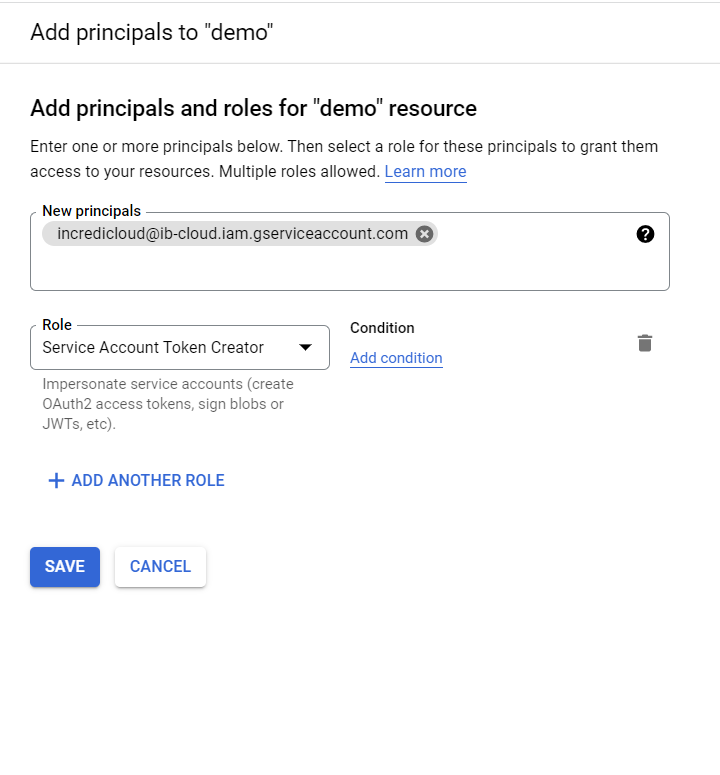
[サービス アカウント]から[アクセス権]を開き、「新しいプリンシパル」incredicloud@ib-cloud.iam.gserviceaccount.comに「サービス アカウントトークン作成者」のロールでアクセス権を付与します。
-
次にIncredibuildで必要な権限を持つユーザーを作成します。
-
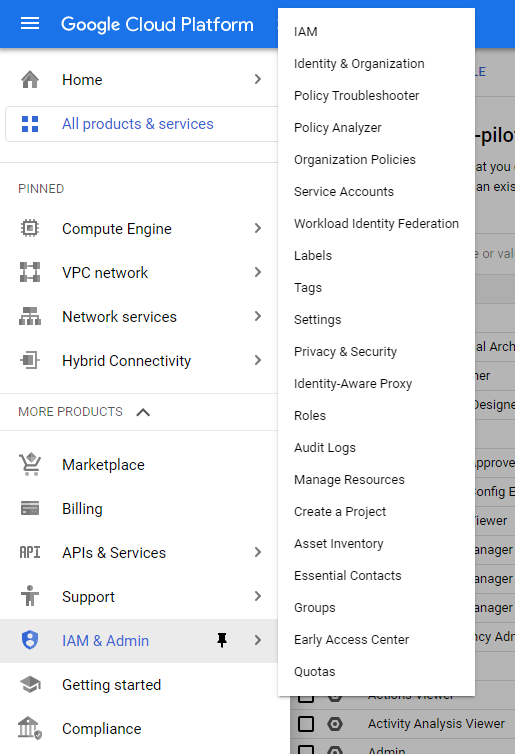
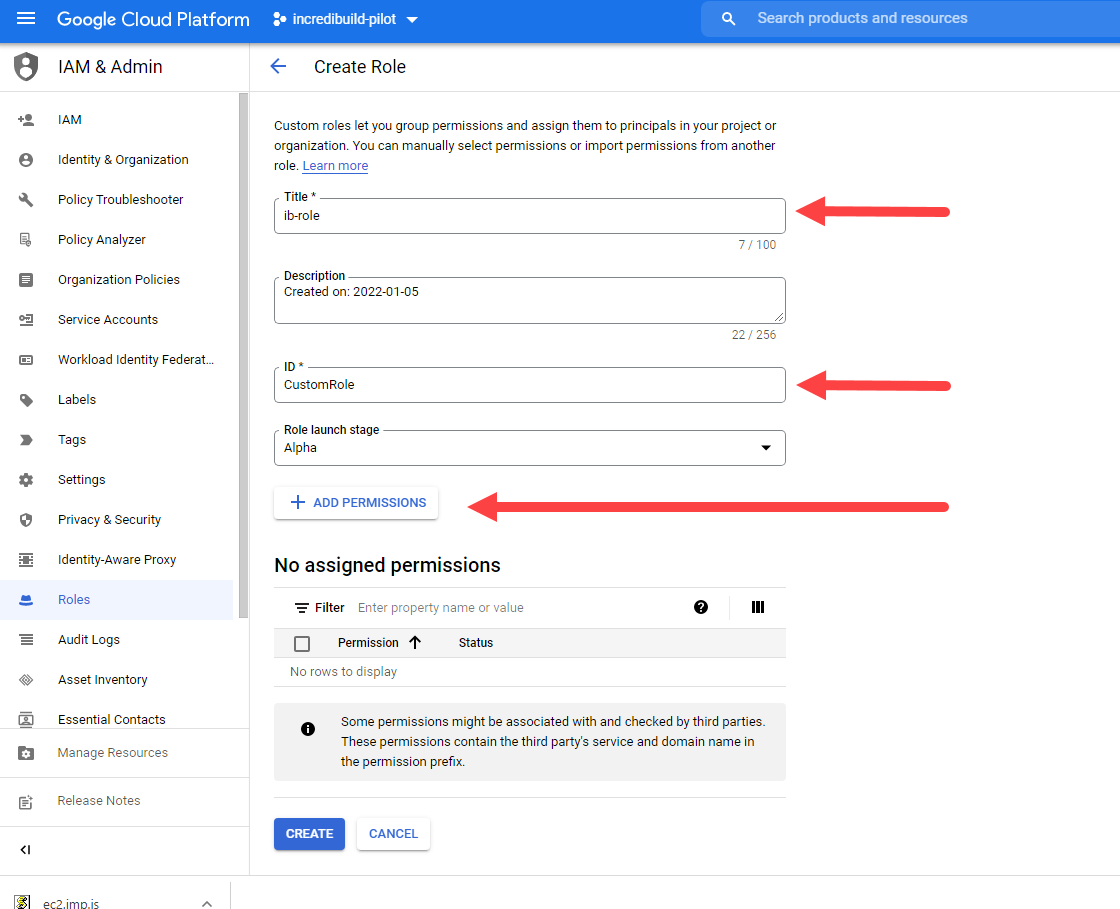
[IAMandAdmin]>[Roles]にアクセスしてください。
-
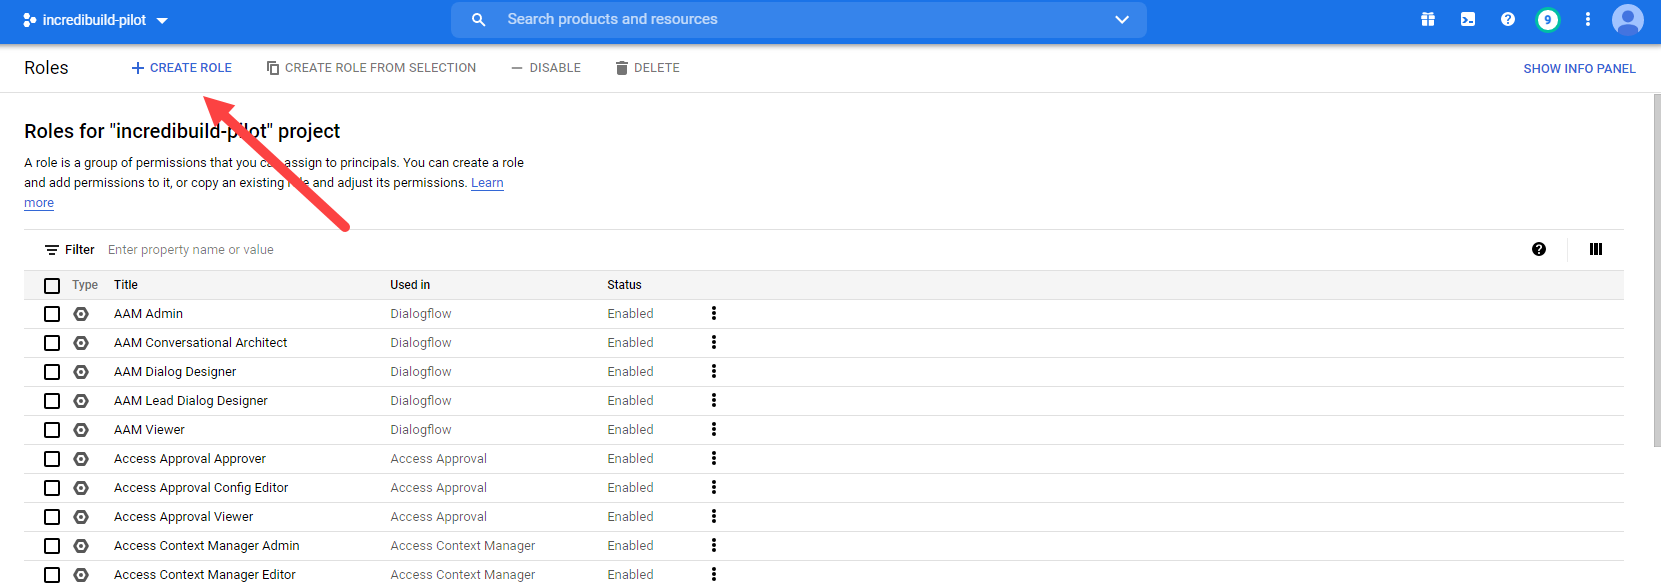
[CreateRole]をクリックします。
-
「Title」と「ID」を入力します(後で必要になります)。
-
次の権限を追加します。
-
compute.disks.create
-
compute.disks.delete
-
compute.disks.get
-
compute.disks.list
-
compute.firewalls.create
-
compute.firewalls.delete
-
compute.firewalls.get
-
compute.firewalls.list
-
compute.firewalls.update
-
compute.globalOperations.get
-
compute.globalOperations.list
-
compute.instanceGroupManagers.create
-
compute.instanceGroupManagers.delete
-
compute.instanceGroupManagers.get
-
compute.instanceGroupManagers.list
-
compute.instanceGroupManagers.update
-
compute.instanceGroupManagers.use
-
compute.instanceGroups.delete
-
compute.instanceTemplates.create
-
compute.instanceTemplates.delete
-
compute.instanceTemplates.get
-
compute.instanceTemplates.list
-
compute.instanceTemplates.useReadOnly
-
compute.instances.attachDisk
-
compute.instances.create
-
compute.instances.delete
-
compute.instances.get
-
compute.instances.list
-
compute.instances.reset
-
compute.instances.resume
-
compute.instances.setLabels
-
compute.instances.setMetadata
-
compute.instances.setServiceAccount
-
compute.instances.setTags
-
compute.instances.start
-
compute.instances.stop
-
compute.instances.suspend
-
compute.instances.update
-
compute.networks.create
-
compute.networks.delete
-
compute.networks.get
-
compute.networks.list
-
compute.networks.updatePolicy
-
compute.projects.get
-
compute.regionOperations.get
-
compute.regionOperations.list
-
compute.regions.get
-
compute.regions.list
-
compute.subnetworks.create
-
compute.subnetworks.delete
-
compute.subnetworks.get
-
compute.subnetworks.list
-
compute.subnetworks.use
-
compute.subnetworks.useExternalIp
-
compute.zoneOperations.get
-
compute.zoneOperations.list
-
resourcemanager.projects.get
-
-
[作成]をクリックしてロールを作成します。
-
-
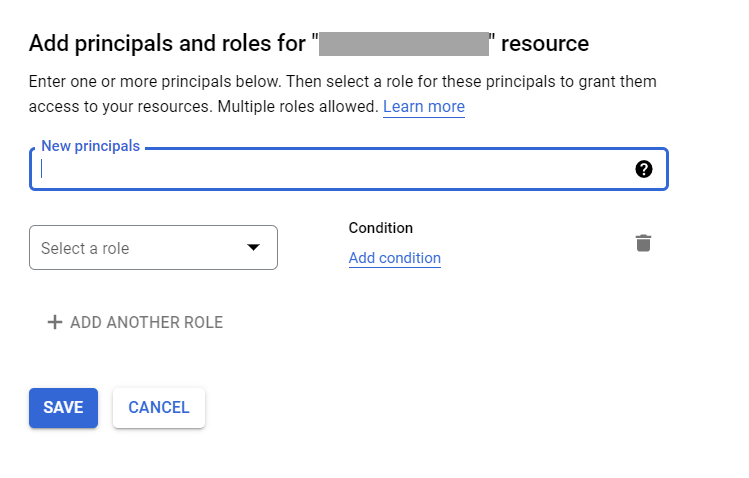
[IAM]>[追加]の順に選択します。
-
前述の手順で[新しいプリンシパル]に作成したサービス アカウントIDを入力します。先ほど作成したロールを付与します。
-
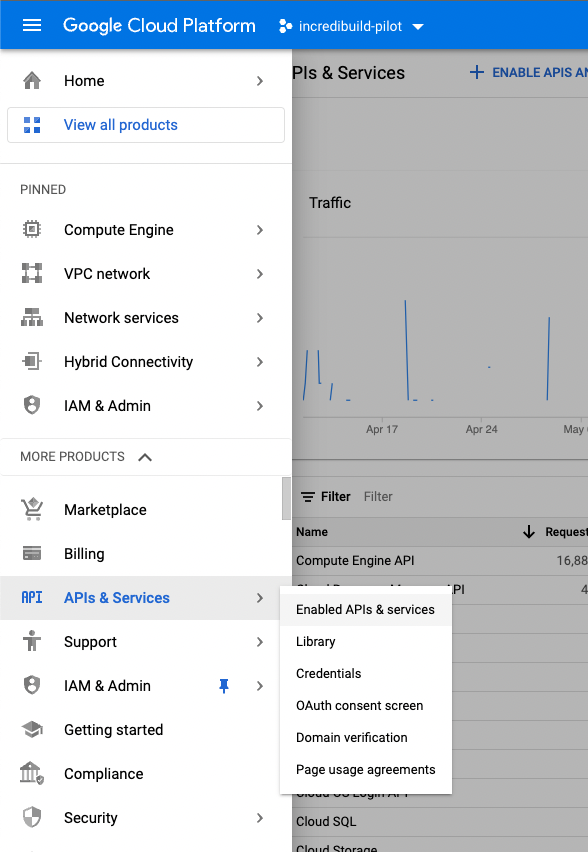
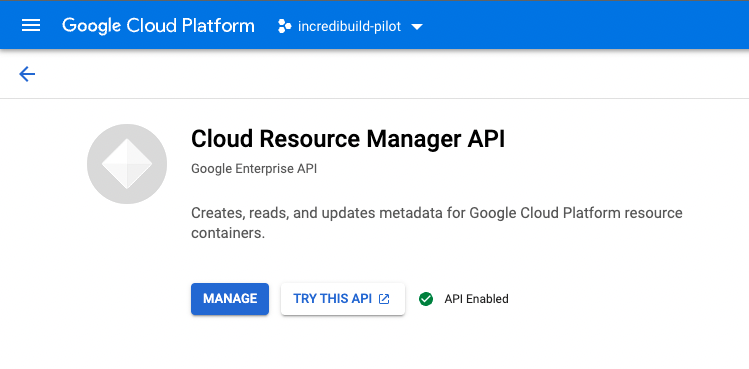
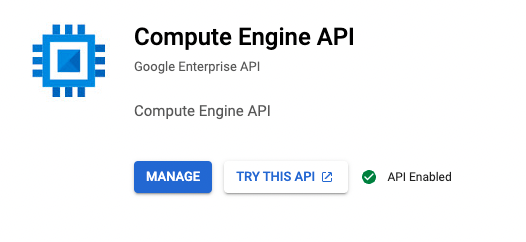
以下のように必要なAPIを有効化します。
共有VPCを使用して作業する
GCPアカウントで共有VPCを使用している場合は、上記で作成したプロジェクトがVPCにアクセスできるようにする必要があります。
-
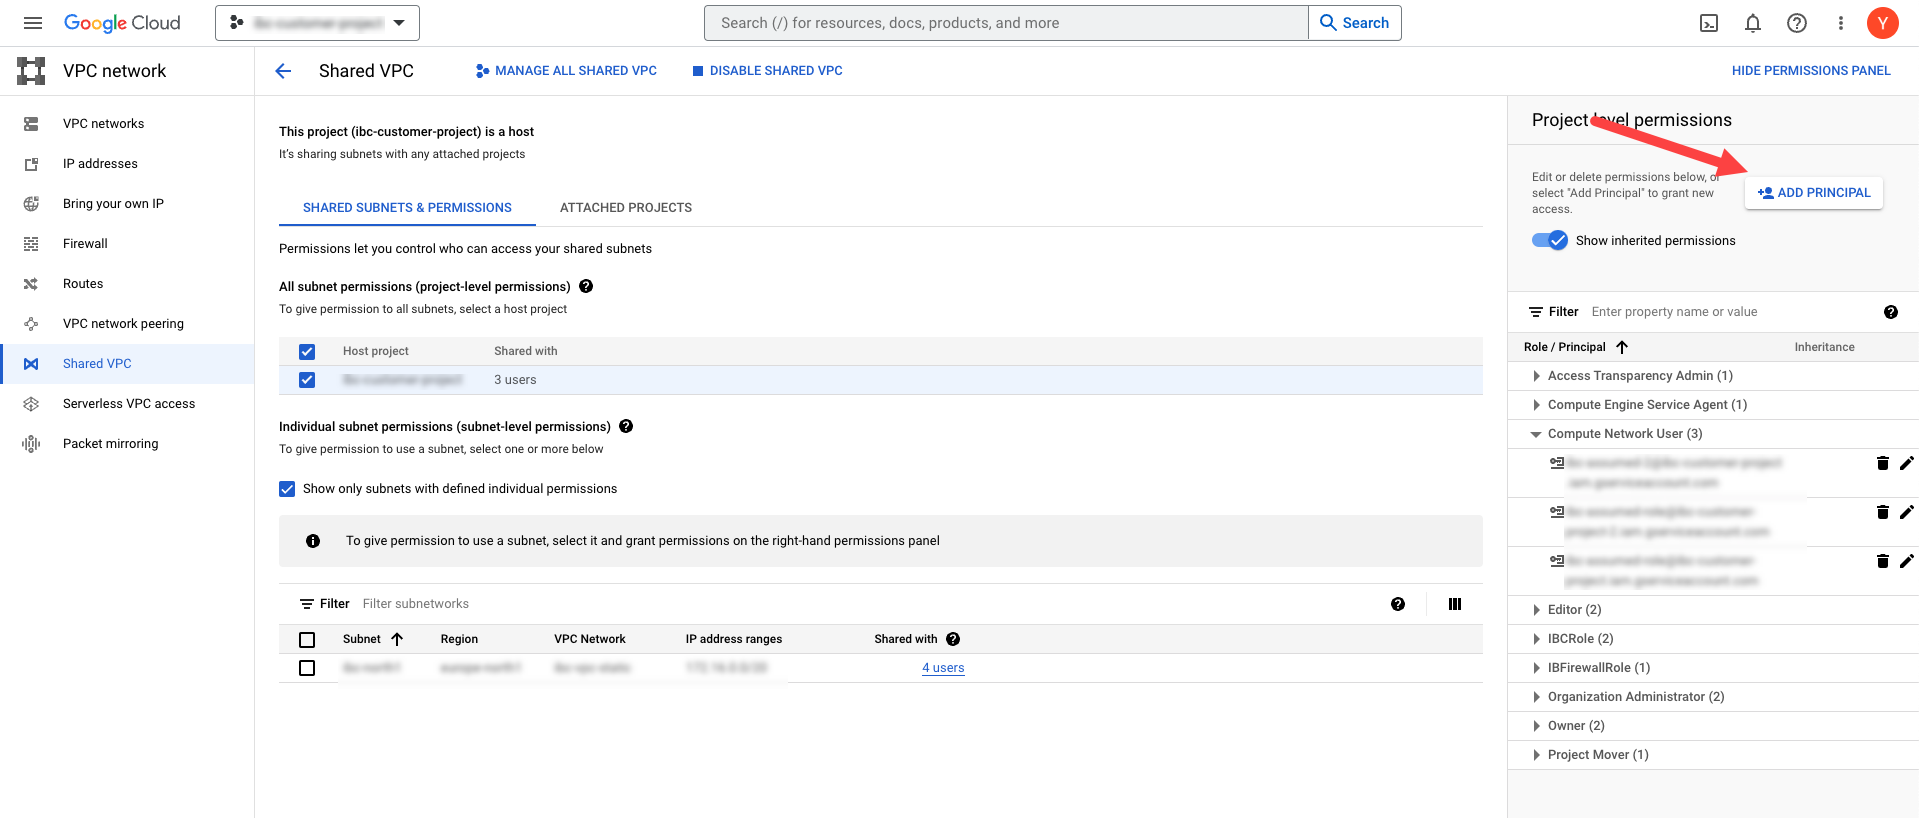
共有VPCを管理するプロジェクトで、[SharedVPC]エリアに移動し、[Add Principal]をクリックします。
-
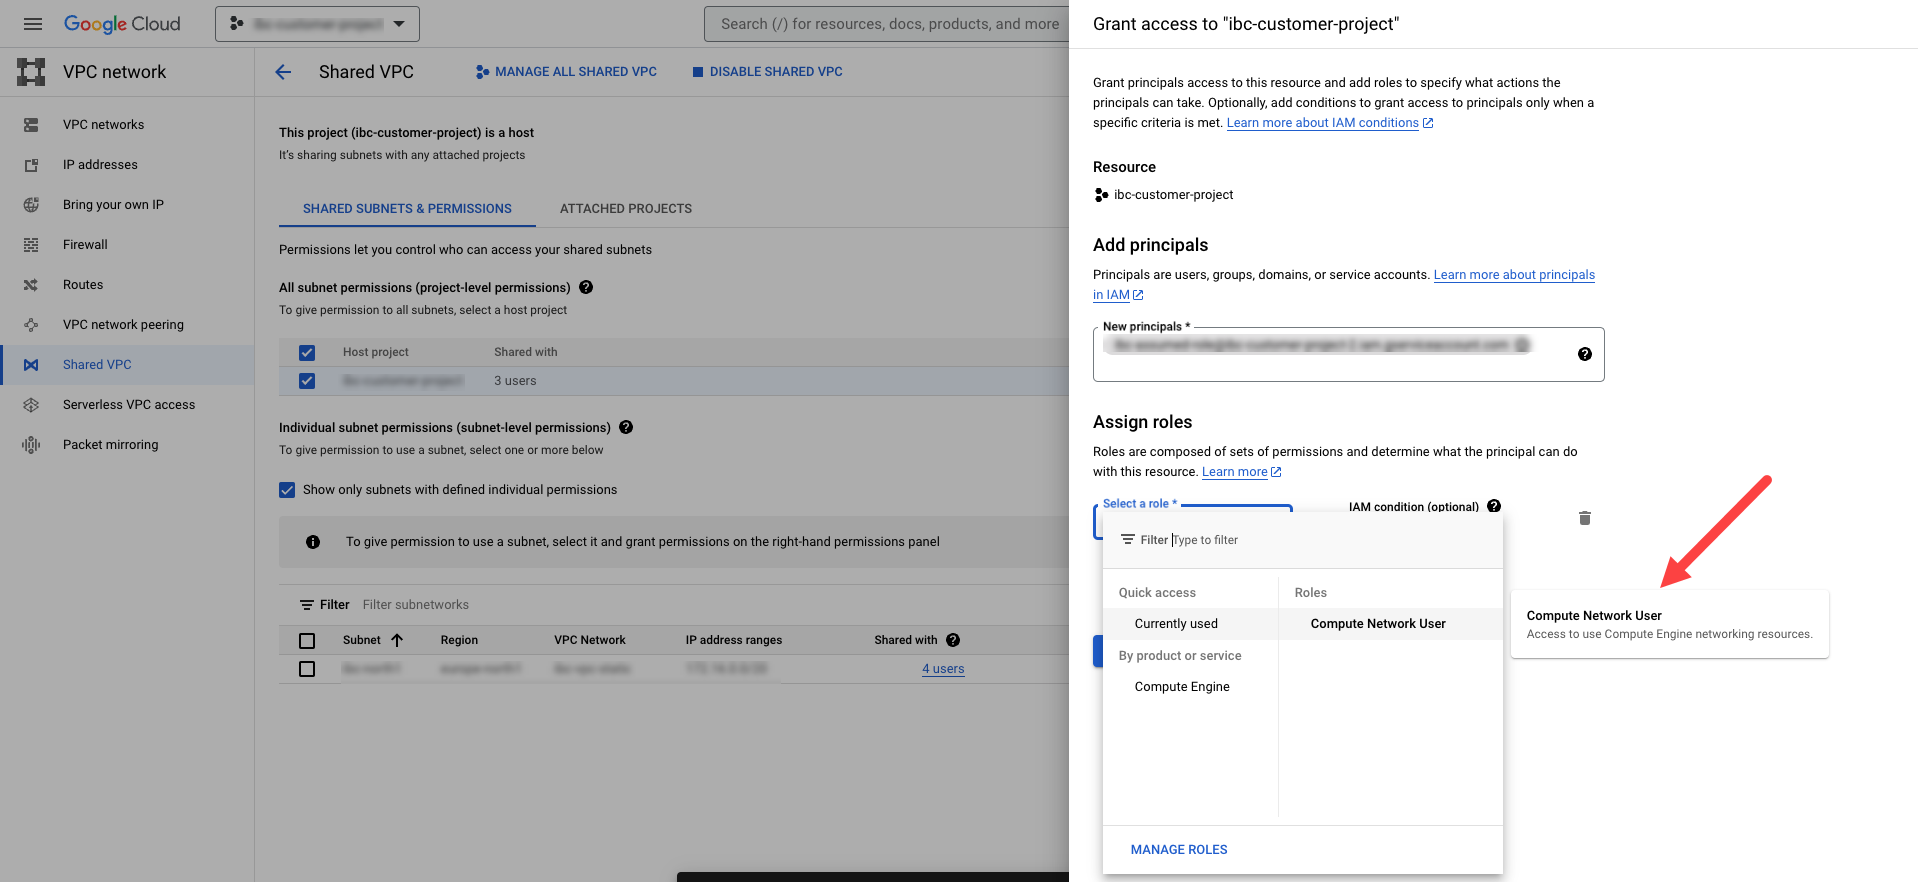
新しいプリンシパルとして、上記で作成したIncredibuild CloudVMで使用するプロジェクトのサービス アカウントを入力し、「ComputeNetworkUser」というロールを付与します。
-
Incredibuildにファイアウォール ルールを管理させる場合は、VPCを管理するプロジェクトに以下の権限を持つカスタムロールを作成してください。これはオプションであり、Incredibuildが失敗する原因にはなりませんが、実行しない場合はファイアウォール ルールを手動で設定する必要があります。
-
compute.firewalls.create
-
compute.firewalls.delete
-
compute.firewalls.get
-
compute.firewalls.list
-
compute.firewalls.update
-
compute.networks.updatePolicy
-
トラブルシューティング
いくつかのケースでは、GCPの問題により、カスタムロールが予想通りに機能しません。その場合、サービス アカウントに「viewer」というGCP標準のロールを追加します。オンボーディングが確認された後、このロールを削除することが可能です。それでも解決しない場合は、support@incredibuild.comまでご連絡ください。

