Dashboard Configuration Page
The Configuration page allows you to categorize and group up information specific to different products being built with Incredibuild.
Through the Configurations page you can group up information regarding a specific product being built, the Agents used for the build, and the build commands used. By setting up configurations you can view, categorize, and filter through any piece of information regarding any builds and Agents you may be interested in knowing more about.
If you are developing more than one product, want to view the performance for a specific group of Agent machines, or want to view the build performance for a specific set of builds that use a particular build command, you will want to setup some configurations. It is especially useful because you can then pinpoint specific problems, compare the performance between different build groups and different Agents groups.
Products Configuration
Products Configuration gives you the ability to separate your builds based off of what product is being built with Incredibuild.
For example, if you are using Incredibuild to distribute processes for two different products. Let's say for Product 1, all build commands related to it contain the string "Blender" in the build command. In this case, "Blender" is the string in the build command argument that differentiates Product 1 builds from the other product builds. Now let's say that there is a second product we are building, let us call it Product 2. The unique string text "Durango" is what distinguishes the build commands for Product 2. Therefore, for Product 1, we would use the fact that the string "Blender" is a rule necessary to group up all build commands related to product 1, and for product 2, the string "Durango" is necessary as a rule to group up all builds related to Product 2.
Below we will explain how you can achieve what was done in the example above. We will configure the necessary rules for Product 1. The same can be done for Product 2.
This isn't limited to two products. This procedure can be done to configure as many products as you'd like.
How to Create a New Product Configuration
-
From the Products Configuration page, click Add Product.
-
Enter in the name of your product and give a short description if you'd like, here we will call it Product 1:
-
Click Save and continue to rules.
-
Click Add new rule.
-
Give your rule a name. Here we are using the String Text "blender" as that rule differentiates Product 1 from the other products.
-
You can add as many rules as you please using the "AND" and "AND NOT" options.
-
Click Save Rule.
From the Agents Configuration page you can group up different Agents based off the strings used in their names. Once they are grouped you can go to the Agents page and filter between the different Agent Configurations to change the graphic display to illustrate data specific to that Agent group.
For example, if you have Agents running on machines on your local network, but you also have Virtual Machines with Agents running on them. Let's assume every Virtual Machine with Agents on them have names that begin with "vm". you can set the string text value to "vm" as a rule and now all Agents that contain the string value "vm" in their names are grouped together under the same name.
Below we will explain how you can achieve what was done in the example above. We will configure the necessary rules for all Agents running on Virtual Machines. The same can be done to configure the necessary rules for Agents running on local machines. You will just need to know the necessary key differentiators between which Agents are on VM's and which are run locally. This shouldn't be difficult to do, the names of each machine should offer some indicitation that they belong to the same group.
How to Create a New Agent Configuration
-
From the Agents tab, click on "Add Agents Group"
-
Enter a name and add a description:
- Click Save and Continue to Rules.
-
Give your rule a name.
-
To add exceptions or restrictions, enter a string of characters into the "String Text" field that are relevant to the names of the Agents you would like to group up.
-
Add as many rules as you would like, then click Save Rule.
-
Once you have created different rules you can search between them using the "Search Rule" search box. In the image below we only have one rule, so searching isn't really beneficial, but once you have numerous rules, this could come in handy.
-
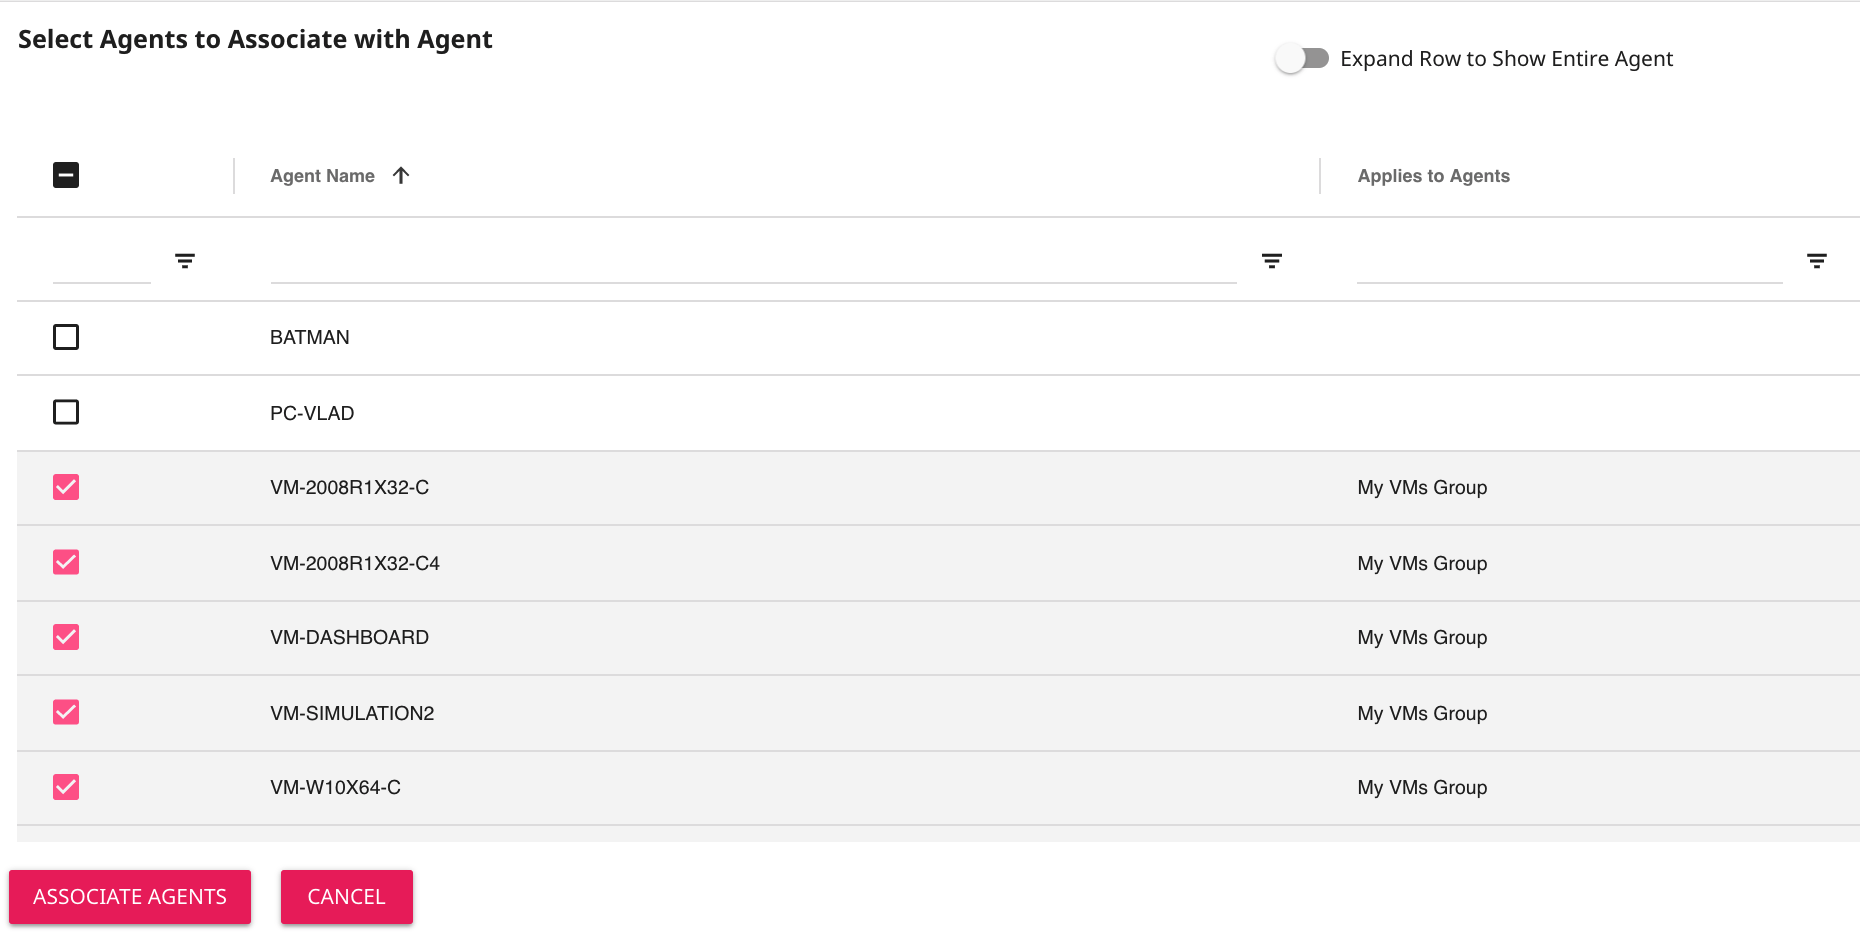
Alternatively, you can click on the "Agents" tab and manually select the Agents you want to group up by pressing the "Agents" tab:
- When you are done, click Associate Agents.


